
MIDI
Drive A1R hands-free from any MIDI controller.
Max Map controller buttons, pads, keys and encoders to A1R actions: play, stop, next/previous section & song, jump anywhere, tempo and more.
Required setup first
A1R receives MIDI through its Ableton control surface, so your controller must be routed to it in Live:
- Open Live > Settings > Link / Tempo / MIDI.
- In the control surface row where A1R is selected, set the Input to your MIDI controller.
- In the MIDI Ports list below, make sure the controller's input port has Track = On.
If nothing shows up in the panel's Last received display when you press a button, this routing is the first thing to check.
Binding a control
Open the MIDI panel from the toolbar. There are two ways to map:
- Learn — click Learn next to an action, then press a button/pad on your controller. The binding is created instantly. Learn always replaces any existing binding for that same key, so re-learning a button never leaves stale duplicates behind.
- Manual mapping — add a row and fill in Channel · Note/CC number · Trigger (note press, note release, CC, or program change) · Action. Useful when you know your controller's MIDI layout, or when it isn't plugged in yet.
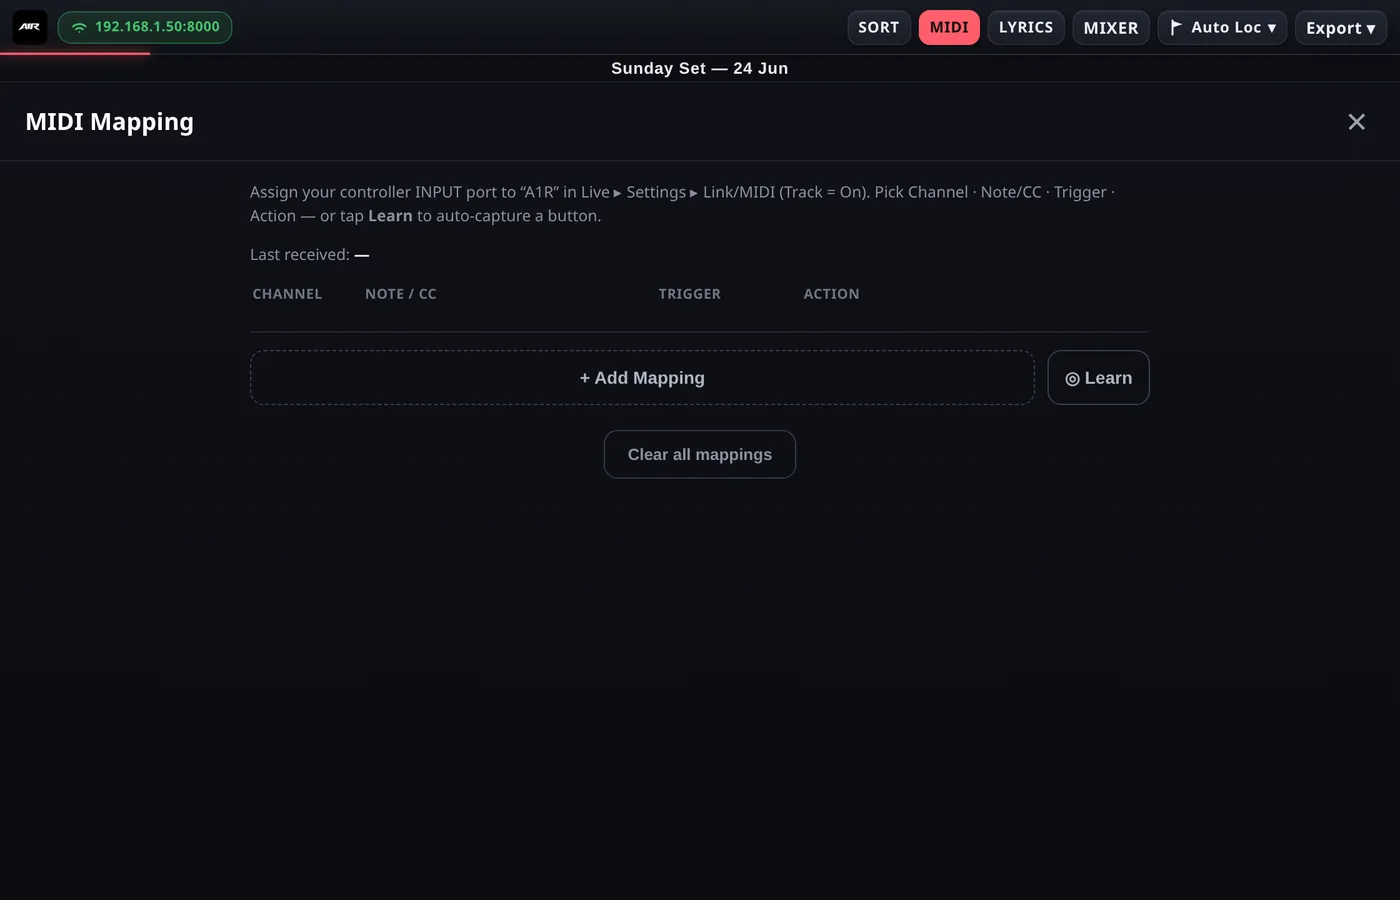
The MIDI panel — Learn an action, then press a control to bind it.
Available actions
| Action | What it does | Argument |
|---|---|---|
play | Start playback. | — |
stop | Stop playback. | — |
playpause | Toggle play / pause. | — |
pause | Pause playback. | — |
nextsong / prevsong | Jump to the next / previous song. | — |
nextsection / prevsection | Jump to the next / previous section. | — |
engine | Toggle the Engine (auto-advance) switch. | — |
gosong | Jump to a specific song. | Song number |
gosection | Jump to a specific section. | Section number |
gosongname | Jump to a song by name. | Song name |
settempo | Set the project tempo. | BPM, e.g. 120 |
Actions that take an argument (gosong, gosection, gosongname, settempo) let you dedicate one pad per song, per section, or per tempo preset.
Debug & housekeeping
- Last received — the panel shows the most recent MIDI event that reached A1R (channel, type, number) and the last action it triggered. Perfect for verifying your routing and finding out what a button actually sends.
- Clear all — removes every binding at once. You can also delete bindings one by one.
Mappings are saved with your Ableton project's A1R settings, so each project keeps its own controller layout.